

Linux on the Thinkpad 750C
Last year, through Le Bon Coin, I got an old Thinkpad 750C which had Windows 95 on it (although it seemed this was not the pre-installed OS, as there seemed to be driver problems on it) for about 10 euros.
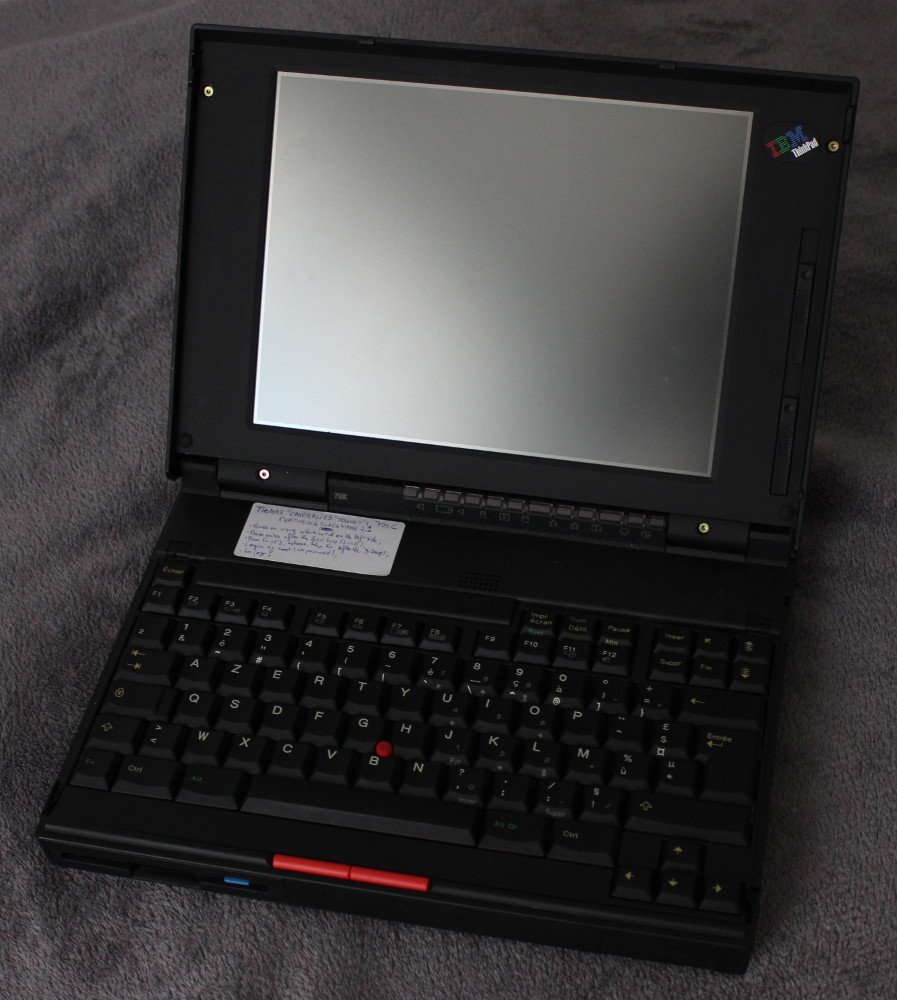
Top notch technology!
As one could've predicted, there were a few problems with it: the battery was dead (in order to power the computer on, it has to be taken out), and the backlight is malfunctioning (the screen was black). As I didn't know about the backlight, I first thought that the computer was completely broken, but after a few tries of typing random things on the keyboard, as soon as I heard the Windows 95 booting up sound, I understood the screen was probably not working. Thankfully, this computer has a VGA port, I have a screen with VGA capabilities, and the screen is automatically duplicated when the screen is plugged in.
In order to go further, I bought floppies and an external USB floppy drive, and tried to use them. But the good ol' utilities didn't work with it, as it uses SCSI extended commands. Fortunately, Internet is aware of it. What you should know about this drive is:
Your floppy (drive) is accessible through one of the /dev/sd* devices (as I currently only have one hard disk in my computer, /dev/sdb it is);
ufiformat replaces fdformat; if you have the following error:
/dev/sg* family: No such file or directory
Then just type sudo modprobe sg and try again, it should work fine;
To flash something onto the floppy, use dd if=<whatever> of=/dev/sd<device>;
To format it to the MS-DOS format (which everyone uses on floppies anyway), use mkfs.msdos /dev/sd<device>.
After poking around with Windows, and backing up the personal data I could find in case the previous owner would look for it (I don't have her name, and lost the contact of the seller from Le Bon Coin), I searched for OSes I could boot or even install. FreeDOS looked cool, but it required a CD-ROM or USB. Other OSes weren't general-purpose (some were made for rescue, others for turning the computer into a simple terminal, etc), until I found Slackware, a Linux distribution which was already out at the time this computer was used.
So I chose Slackware 7.1, which came out in June 2000, and still supported low-memory computers (my 750C has 4MB of RAM, and no extension).
Before doing the installation, you first need to prepare the floppies (if you have few like me, you can do this in the same time as installing, by reusing the previous floppies as soon as the computer has finished with them). First of all, download everything you need, by typing:
rsync -av rsync://ftp.heanet.ie/mirrors/ftp.slackware.com/pub/slackware/slackware-7.1 .
Go into the slackware-7.1/slakware folder. You will find the makeflop script, which is an automated tool to make the Slackware floppies. It will make a boot disk, which you will be supposed to boot on, then the root disk, which the boot disk uses to run the installation image, and the package floppies, which are installed by the setup utility on the root disk.
At first, the makeflop didn't work for me, for many reasons (I often wonder if it worked back in the day). After correcting these, and adding support for SCSI floppy drives, I could effectively use this tool to make the floppies. You can download the modified script here: makeflop.sh. Replace the slackware-7.1/slakware/makeflop script by mine, and run it (if you're obsessed with security, don't forget to make a diff before replacing it).
With my SCSI floppy drive, type /dev/sdb option I've added at the beginning. Then, you're at the boot disk menu. I've pre-selected the bare.i boot disk, as it is the one that suits my Thinkpad 750C, but you should select yours using the dedicated README and the c option (no need if your laptop also uses the bare.i boot disk). Then, format the floppy using the f option.
Now, the root disk. To be honest, color.gz is a rootdisk that should work alright, but feel free to read the dedicated README. Then format using f. While your root floppy is getting formatted, you should modify the boot order in your computer's BIOS, save and turn the computer off, put in the bootdisk and turn it on. When a prompt appears, type in ramdisk floppy=thinkpad, and wait for it to load. When the root disk is ready, and when the "Insert root floppy to be loaded into RAM disk and press ENTER" message appears, remove the bootdisk, insert the root disk and press enter. It should load, and you should be able to login as root.
First of all, if your keymap is not US QWERTY, you should change that using loadkeys; for example, with a french AZERTY keyboard, using loadkeys fr.map. Then, you should format your hard disk using cfdisk (make an ext2 partition for the filesystem, and a swap partition, in case). From there, just use the setup utility, and continue formatting (or duplicating only if your floppy is already formatted, most likely if it has served as a package floppy right before) using makeflop. I expect you to know how to follow the setup utility instructions from there, just select the 'A' series only, as the 'N' series might not be useful, and other series won't be managed by the setup tool.
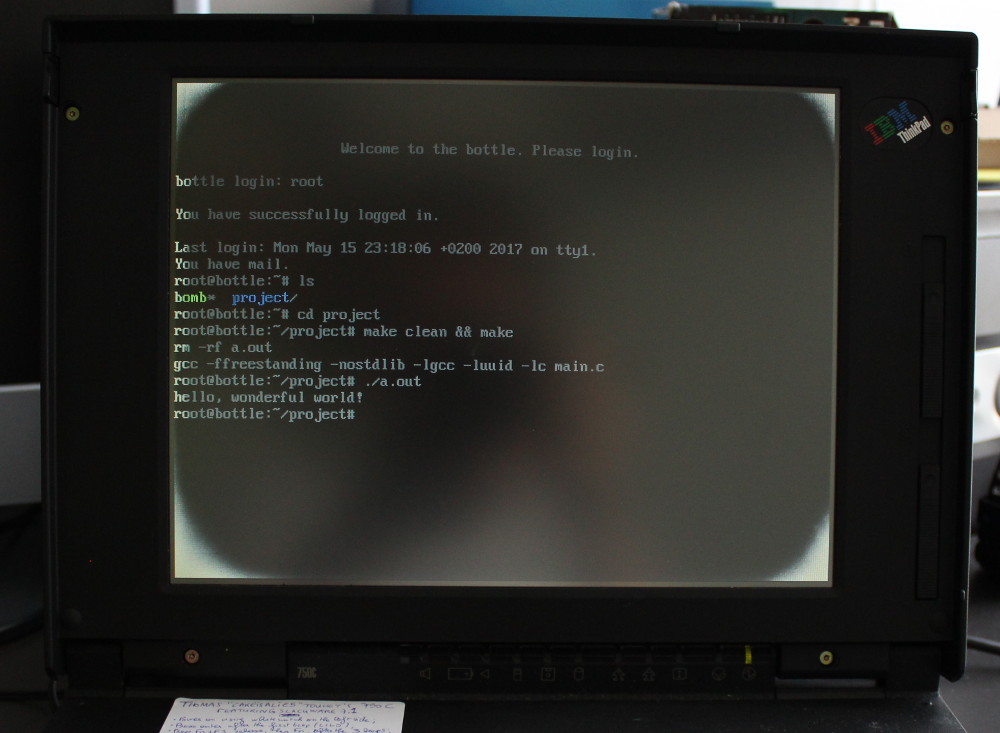
Congratulations, you have installed Slackware Linux 7.1 on your old Thinkpad!
Now this is done, what do you think, should we go a little further and install some fancier packets, and configure a little more the system? If you like the vanilla installation, you can stop reading here, but if, on the contrary, you like to go further and do fancy things, we'll do a few!
First of all, let's configure LILO. If you don't configure LILO, it will boot Linux with default options, so you will not be able to use the floppy drive! Edit /etc/lilo.conf, and after label = linux, insert append = "floppy=thinkpad". This way, you won't have to think about it each time, and it's pretty great! You can also change the boot message in /boot/boot_message.txt. Once all of this is done, use lilo -M /dev/hda mbr to install LILO with those options in the MBR. As you have probably forgot the floppy option, you should reboot using reboot.
Then, we're going to edit the startup configuration; startup files are in the /etc/rc.d/ folder. You shouldn't touch to the rc.[0123456], rc.K, rc.M and rc.S files, but you can add or edit the files they include. The first file you'll want to add/edit is the rc.keymap file, where the loadkeys <keyboard map> should be written. You can also add other things in rc.local: for example, before the login screen is run, I wanted to make three beeps, so here is what I've added at the end of it (because I don't always have the screen lit up at the startup, I want to know when the login screen is there):
1 2 3 4 5 6 7 8 9 10 11 12 13 14 15 16 17 | #!/bin/bash # The current version of `sleep` doesn't support less than a second # as a sleep time, so this is an ugly function with # an active sleep. Ugly, but works, and all in shell. DoAnUglySleep() { TheUglySleepVariable=$1 while [ $TheUglySleepVariable != 0 ] do TheUglySleepVariable=$(( $TheUglySleepVariable - 1 )) done } # And here are the marvellous beeps. echo -n -e "\a" && DoAnUglySleep 70 echo -n -e "\a" && DoAnUglySleep 70 echo -n -e "\a" |
Also, you can edit the hostname in /etc/HOSTNAME (which will then be persistent), the issue (message that will be displayed at the login screen) in /etc/issue, and the MOTD (message that will be displayed after the user is logged in) in /etc/motd.
Now, the fact is: there isn't a lot of stuff on the system right now, and you may want things that are in the other categories, such as ap1/groff.tgz. This one is simple, because it should fit on one floppy, just format the floppy if needed, mount it somewhere, remove what's on it, copy the tarball on the floppy, unmount, and put it on the old computer. Once this is done, on the old Thinkpad, type ROOT=/ installpkg groff.tgz.
But what if you want packages that don't fit on only one floppy, such as y1/bsdgames.tgz? The solution is to split the files in parts, transmit the parts one by one, then regroup them on the 750C, and install the package using the same command than earlier. To split the package, use split -b 1400k <package>.tgz, this will create the xa* files, such as xaa and xab for bsdgames. Once those files are transmitted using floppies, use cat xa* <package>.tgz to merge the parts!
That's about it for what I know of installing Linux on a Thinkpad 750C. Hope that has been captivating!